UltraScan III Configuration:
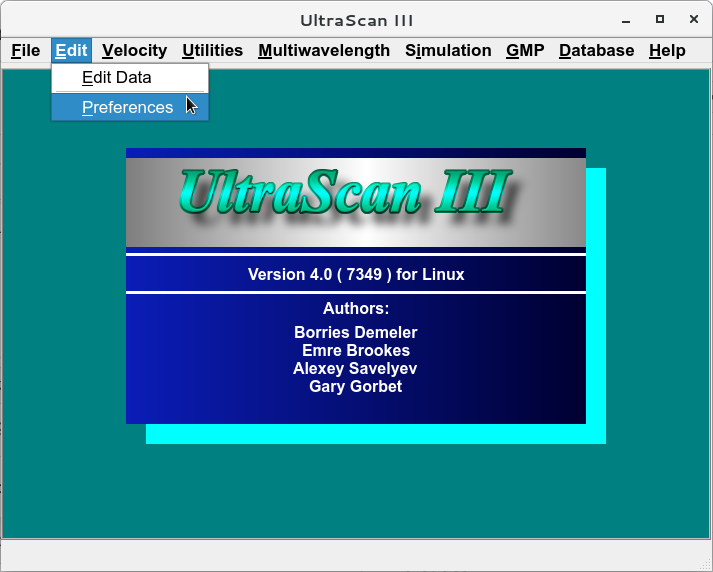
Configure your new installation by selecting "Edit:Preferences" from the main menu. Preference settings on a Macintosh computer can be found under the standard configuration places for Macintosh software.
This selection will open a new dialog:
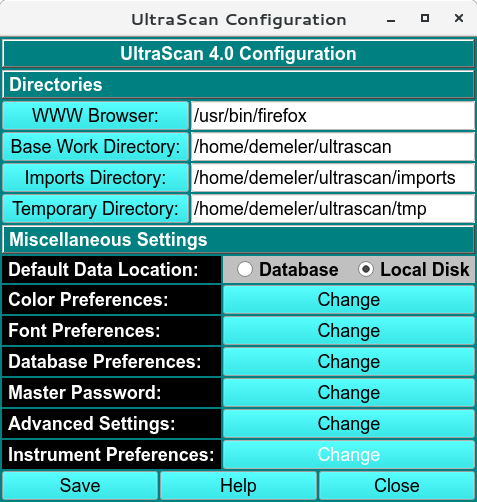
The following items can be configured:
- WWW Browser: Enter the path of your preferred browser binary. The default selection may need to be changed based on the browser installed by default on your computer.
- Base Work Directory:UltraScan will create a base work directory in your account. The selected default location is typically adequate.
- Imports Directory: The location of your AUC data files. If you import your AUC data from a remote network location, you can change this location in this dialog. Alternatively, you can copy or symlink your data files into this location.
- Temporary Directory: UltraScan requires temporary disk workspace for certain operations. If you have a dedicated drive for such storage, please enter it here. Otherwise, the default is adequate.
- Default Data Location: Select "Local Disk" if you do not intend to use a LIMS system. Otherwise, select "Database" (recommended)
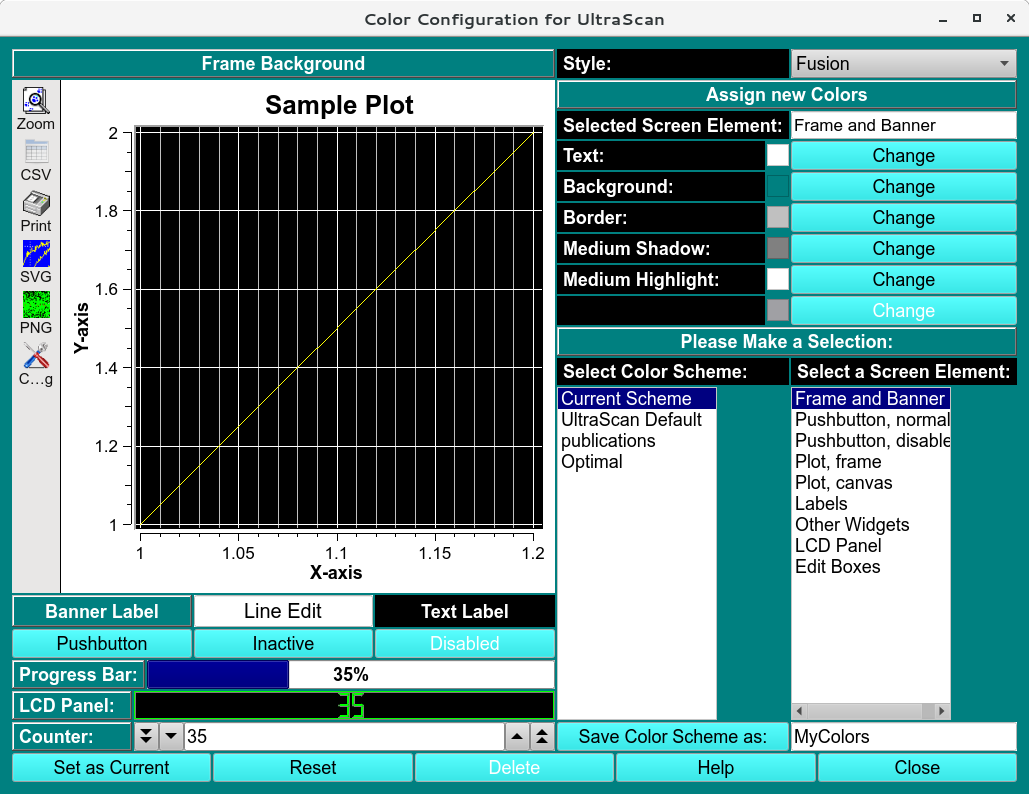
- Color Preferences: Use this function to modify the default appearance of your screen elements for active/inactive buttons, dialogs, plot frames, plot canvas, and other GUI elements:
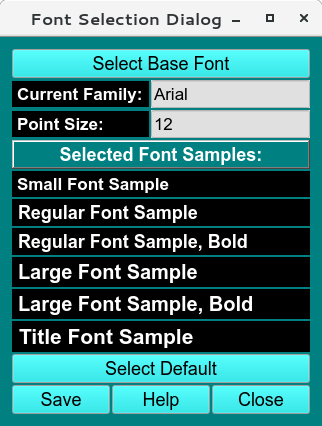
- Font Preferences: With this dialog you can configure your default fonts and font sizes used in UltraScan. You may need to increase the default font to a larger point size for large, high resolution displays with low DPI settings. First, "Select a Base Font", and then set the point size. 12 point fonts tend to work well on most displays. Save your settings before closing the dialog:
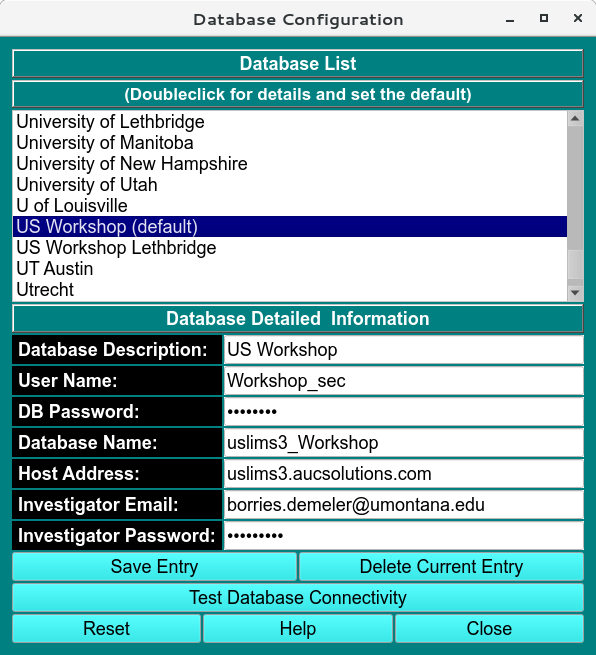
- Database Preferences: Use this dialog to configure your UltraScan LIMS database connections. This topic is explained in more detail on this web page.
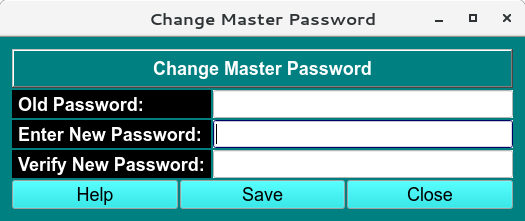
- Master Password: The master password is used to validate your
access to one or more LIMS databases you are using. If your network
administration uses LDAP or Microsoft's Active Directory system,
and your UltraScan installation is administered by AUC Solutions,
please use your company password here. Otherwise, you could use your
LIMS password or change it to something you can remember! If you do
not use a LIMS server for your cloud-based data hosting, the master
password is not needed, and you can leave the master password blank. If
you have an existing master password set, you will first need to enter
your old master password before you can enter a new password, otherwise,
only 2 lines will be shown in this dialog, allowing you to set up your
master password for the first time. If you create or update your master
password, you will need to confirm your entry by typing it a second time.
The password will not be shown. If you forgot your master password, review
the UltraScan Troubleshooting tips
for instructions on how to recover your UltraScan installation.
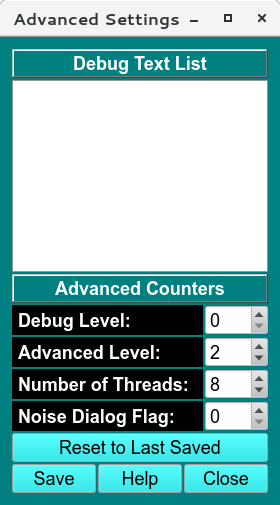
- Advanced Settings: Under "Advanced Settings" you can customize various settings specific to your use:
- Advanced Settings: Debug Level: This should typically be set to "0". The Debug level controls the verbosity of the output generated by UltraScan when UltraScan is executed from the command line and compiled with debug information to help debug a problem with UltraScan. Setting this to a non-zero value and capturing the output will assist our developers in tracing issues with a malfunctioning UltraScan installation.
- Advanced Settings: Advanced Level: The advance level should typically be set to zero. If set to a higher value, it will provide access to undocumented features that may be used for testing new features, or using UltraScan with non-standard workflows. You should leave this set to zero to avoid confusion.
- Advanced Settings: Number of Threads: This setting is dependent on the supported hardware of your computer, and the types of analyses you plan to run. "Threads" are separate processes that run concurrently on your CPU, if you have a multi-core architecture and sufficient memory installed in your computer. Many algorithms in UltraScan are capable of executing in parallel and can take advantage of multiple cores available in your hardware. Check the installed memory and the number of cores available in your CPU to determine what value to use. For example, best performance for 2DSA is typically achieved with 8-16 cores/process. Each process requires the same amount of memory. A good default value for the required memory is approximately 2 GB of RAM/core. So, if you have 16 core CPU, and 32 GB of RAM installed, you could select 16 threads here. If you only have 16 GB of RAM, choose 8 cores. UltraScan uses a 64-bit architecture that can access virtually an unlimited amount of RAM, so installing additional RAM may be worthwhile.
- Advanced Settings: Noise Dialog Flag: This setting should be set to "0" for most uses. A higher setting allows controlling the inheritance of noise profiles belonging to a particular 2DSA analysis. This is only useful for debuggng purposes and should ordinarily not be used at a setting different from zero.
- Instrument Preferences: This feature allows you to add and
configure AUC instruments for use with UltraScan. This feature is only
available if a LIMS instance is used with UltraScan (recommended). There
are two types of instruments available for use in UltraScan: 1. The latest
Optima AUC and 2. Non-Optima instruments (Proteomelab XLA, XLI, Aviv
XLF, and the Cölfen multi-wavelength instruments). Optima AUC-type
instruments support direct data acquisition from UltraScan, and allow
you to interact with the instrument, including remotely stopping the
instrument and access all data on the Optima directly (without saving it
into a tar.gz file) and allows you to import experimental data directly
into the LIMS database. This is required for GMP operation with an
Optima AUC instrument. Connection of UltraScan with the Optima AUC
requires that the UltraScan data acquisition package is installed on
the Optima by AUC
Solutions. Any network configurations will also have to be set up
by AUC Solutions.
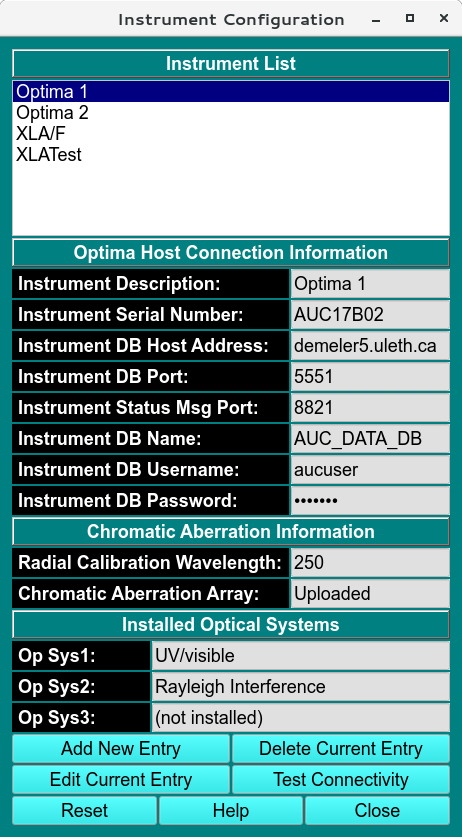
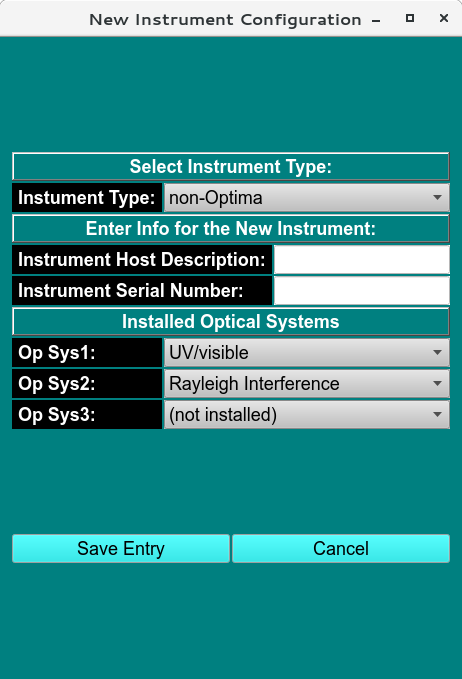
To add a non-Optima instrument, select "Instrument Preferences:Change", and select the "Add New Entry" tab. This opens a new dialog where you need to select "non-Optima" in the "Instrument Type:" drop-down menu. Here you can enter a name for the instrument, and add its serial number. In the LIMS system, you can then associate a particular instrument with a particular data set. Also add the optical systems available with each instrument:
