 Manual
 Manual
With us_convert, you can import and convert experimental raw data, acquired using an ultracentrifuge, into a set of files written in the UltraScan III OpenAUC format. An AUC file is a binary file that contains all the information from a single dataset (cell/channel/wavelength combination, also called a triple) imported and converted from the original raw data format. So if the raw experimental run contained data in three channels us_convert would convert that into three binary AUC files, which can then be uploaded to an UltraScan III database and prepared for analysis. The AUC file format is described here.

Using this window, you can convert raw data located on your local disk, and then store the resulting AUC file(s) on your local disk or in the current database. You can save the information on local disk and then synchronize your data with the database later if you prefer. You must be identified as the investigator (or data owner) to delete or update a converted AUC file in the database.
The first step is to select either the Database or the Local Disk radio button at the top of the window. This indicates your primary data repository at the moment. Many buttons are affected by this--- loading and saving data, including support information like buffers and projects, will look at these radio buttons to determine where to perform their tasks. You may switch back and forth as you work, for instance loading solutions from database and then saving them to disk so that they will be available later when you are not connected to the Internet.
To load data into the application, do one of the following:
Click on the "Edit Run Information" button to open a Managing Experiment Information dialog.
You can view some of the details by clicking on the "Run Details" button.
The runID must be a unique string of characters. Normally it is the directory name from which the raw data was loaded and converted, but if you re-import the data you will encounter a naming conflict in the database, because another run by the same name already exists in the database. To avoid this, go to the edit box labeled "Run ID:" and change the name to a name that is unique in the database. You should make this this name change first, since this edit box will be disabled in the next step.
The different cell/channel/wavelength (c/c/w) combinations will appear in the listbox to the left. You may click on each of these to see the data from that c/c/w. First, select the centerpiece that was used from the drop-down list. Then create or select a solution for each c/c/w in the data. Click on the button labeled "Manage Solution" to associate a solution for the currently selected c/c/w, by opening a Manage Solution Information dialog. You may wish to use the "Apply to All" button to copy solution information from the currently-selected c/c/w to all the others. You could then select exceptions and associate a different solution for that c/c/w if you wish. Click on the "Show Intensity Profile" button to see the intensity profile if you wish.
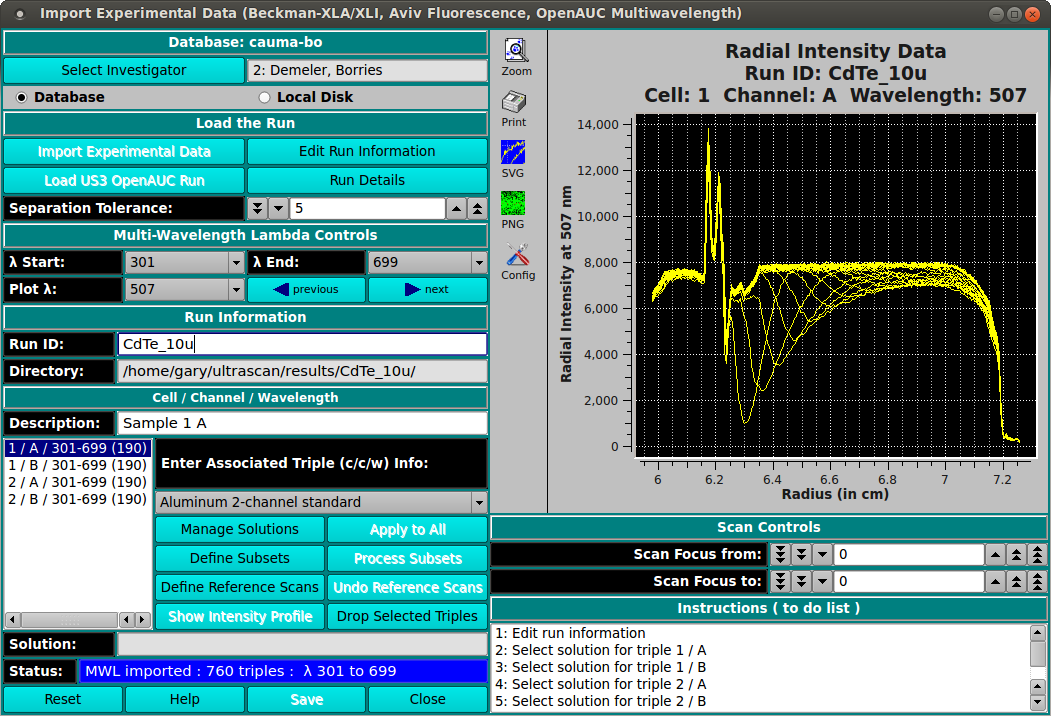
Note that for Multi-wavelength (MWL) data, the contents of the left-side listbox is actually cell/channel entries, with wavelengths represented as a range of wavelengths and with a count of wavelengths shown in parentheses. The MWL special elements are detailed below.
Depending on the type of data being converted, additional processing may be required. In the following paragraphs we describe how to process these types of data, followed by a snapshot.
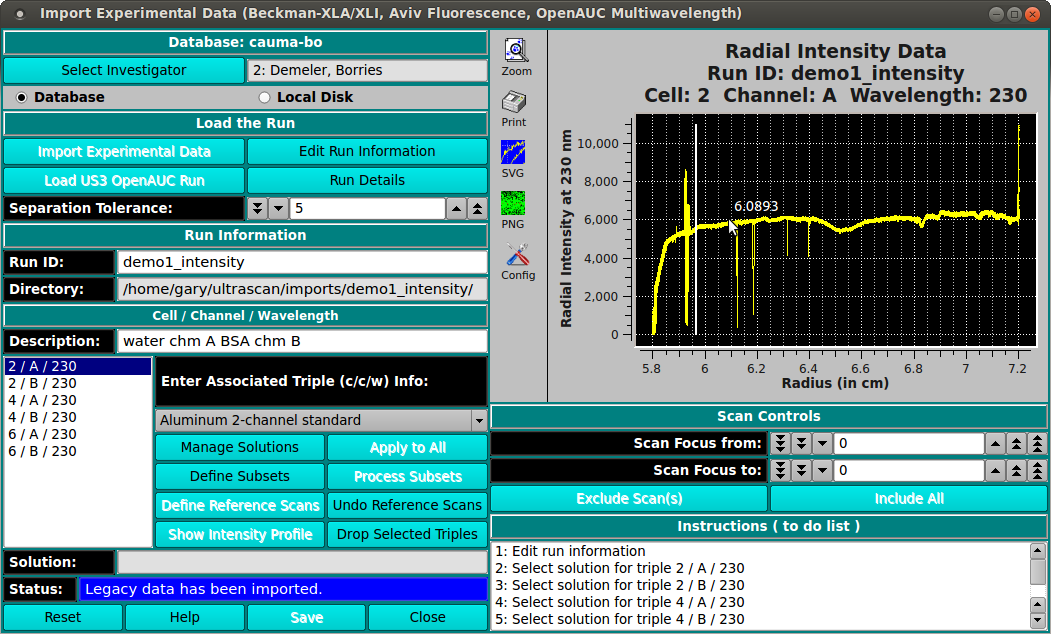
Radial Intensity Data (Beckman suffix "RI"). First, select the c/c/w that you wish to be defined as the reference. Then click on the button labeled "Define Reference Scans" and control-click the range you wish to use in the plot. That is, hold the control button down on the keyboard while clicking the left mouse button. Control-click on two points in the radial range that corresponds to a clean, noise free region in which the reference data can be found. This is typically the air region above the meniscus, but it can also be a channel that contains air or water. The program will use the reference data to convert the radial intensity data to pseudo absorbance data. Next, you can click on "Drop Current c/c/w" for each of the reference channels you don’t need any more, or you can click on "Undo Reference Scans" to undo the reference scan processing and do it again.

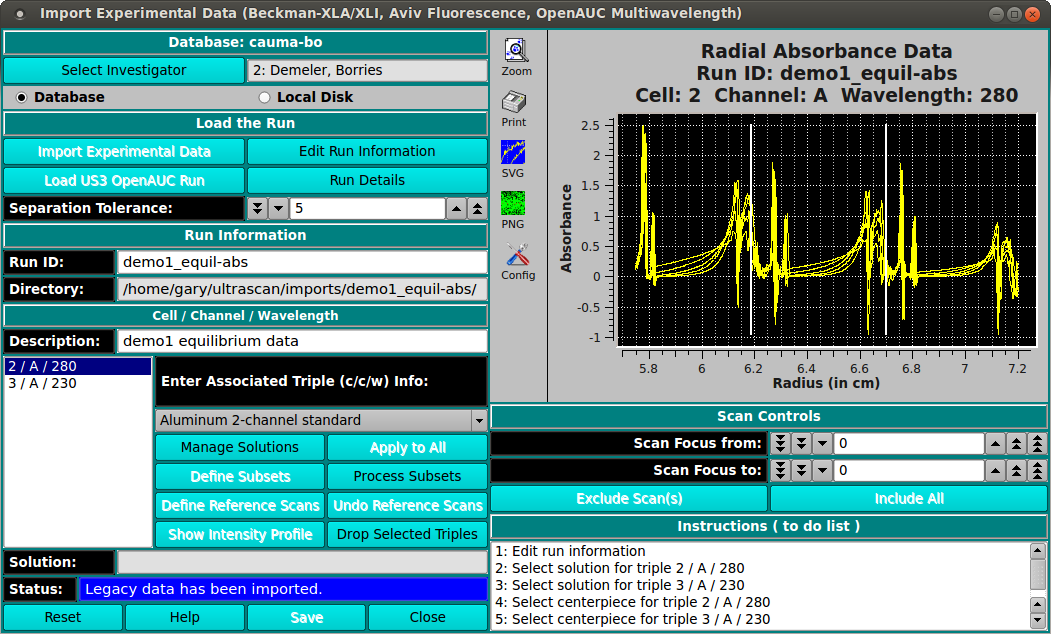
Multiple channels. In cases where you used a 6 or 8 channel centerpiece, you will have multiple channels in a single channel, which need to be separated into individual c/c/w triples. You can define subset c/c/w combinations by clicking on the button labeled "Define Subsets" and then control-click at the radius that separates columns. Do not click at the the starting and ending radius for the entire dataset---these are assumed. When you are finished, click on the "Process Subsets" button and the c/c/w combinations will be separated out. You will need to do this for each of the original datasets in the data.

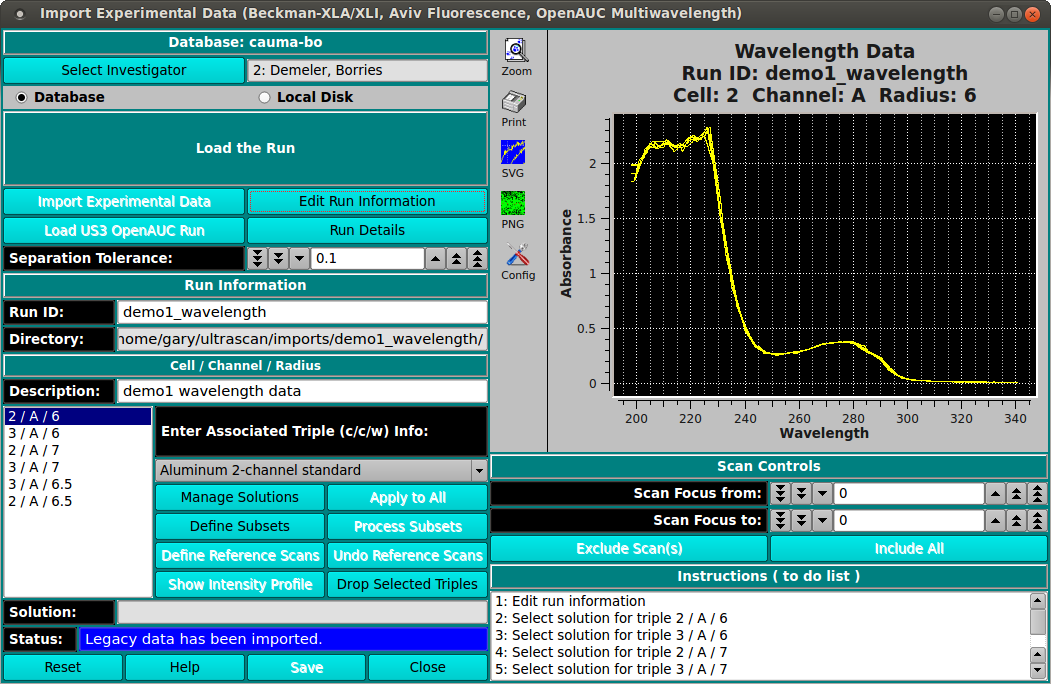
Wavelength Data. In wavelength data the datasets are separated by radius instead of wavelength, and so we have c/c/r combinations. In order to separate the datasets into wavelength data, the tolerance level between datasets has to be adjusted to a smaller number. Us_convert chooses 0.1 cm as the separation tolerance for wavelength data, however you might decide that you would like to use a different number. If so, you can adjust the tolerance in the "Dataset Separation Tolerance" box, above. As you change it the c/c/r combinations will adjust dynamically.

MWL Data. In multi-wavelength data, there are many triples. But selection is generally done by chosing a cell/channel and then adjusting the range of wavelengths within that channel. Some of the additional GUI elements and their corresponding options for MWL include the following.

Click on the "Drop Selected Triples" button to open a Select Triples for Delete dialog. This may be used to exclude entire triples from further processing. The action is particularly useful for MWL data, where some channels may be really only used as reference scans, or some triples are in wavelength ranges where there is insufficient light, excessive or too little absorbance, or the channel may have leaked. After reference scans are defined, all of the triples for these channels may be dropped. Whether the data is MWL or not, intensity or not; it may be useful to drop selected triples whose data is problematic. Dropping useless triples is recommended since it will reduce the dataset size and speed up downstream processing
Click on the "Save" button to save the data, either to local disk or to the database. In some cases the save button will be disabled. This means that you haven’t completed all the tasks above. Double-check each of those items and try again. The "Instructions (to do list)" lists all actions still in need of being done before the data can be saved. Review this list to find out what actions still need to be performed. Only when this list is empty will the "Save" button be enabled.
Scan Controls. The scan controls allow you to highlight individual or groups of scans in a different color. This can be useful for counting scans or identifying how many scans may be baseline scans. While you cannot exclude individual scans from your data at this step, you can either remove selected scan files before importing into UltraScan III (the order does not matter) or you can mark selected scans or scan ranges for exclusion during the editing process.
Reset Button. The reset button erases all data so that you can start over. Use this button every time before you process another dataset after having processed one already.
Help Button. Displays this help text.
Description Field.You can change the description of this run here. This is helpful especially for intensity data acquired on the XLA where only one line is available for each cell, and both channels are described by the same line in the Beckman data acquisition program. After importing both channels from an intensity experiment into UltraScan III, you can assign a different description to each channel in this field.
Order of steps. It is not generally necessary to perform the steps in order. For instance, step two is where you connect your newly-acquired data to your database profile, so if you are not connected to the database you cannot complete this step. However, sticking to the sequence in general may help you to remember to do them all. For MWL data it is best to "Define Reference Scans" early in the sequence, before any "Drop Selected Triples" or other actions.
[% INCLUDE footer.us3 %]